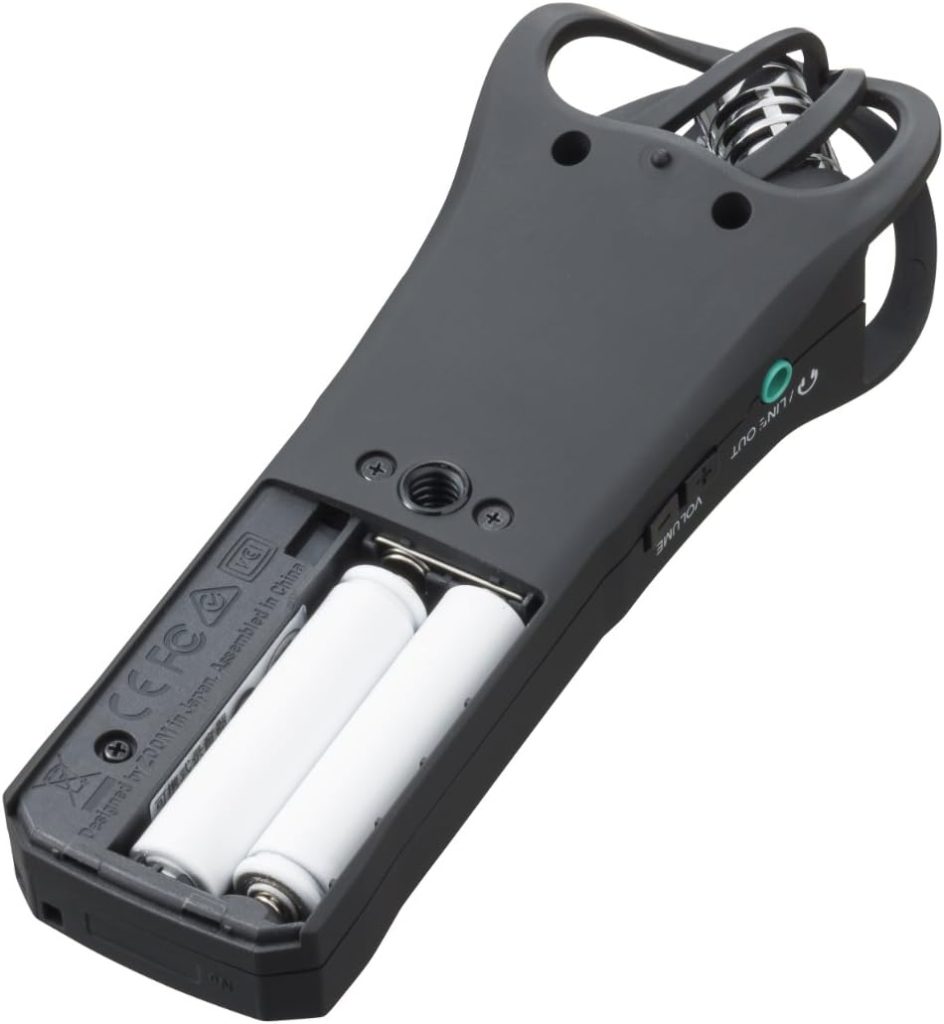
The Zoom H1n stands out as a leading choice among entry-level field recorders available today. It is widely utilized for capturing speech in various formats, including voice-overs, interviews, and podcasts, and consistently receives positive feedback for its performance in these areas.
Recording one’s voice is a straightforward task; simply position the microphone close to your mouth and speak directly into it. To avoid distortion, it may be necessary to reduce the gain. This setup is optimal for achieving a high signal-to-noise ratio, resulting in clear and pristine audio.
I am eager to explore the capabilities of the H1n by capturing natural sounds. Since these sounds are often subtle and can be disturbed by close proximity, I aim to discover how the H1n performs in recording quiet ambient noises with the gain set to maximum.
This article reflects my genuine experiences with the device.
I acquired a Zoom H1n independently for my personal research
Size
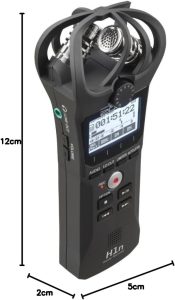
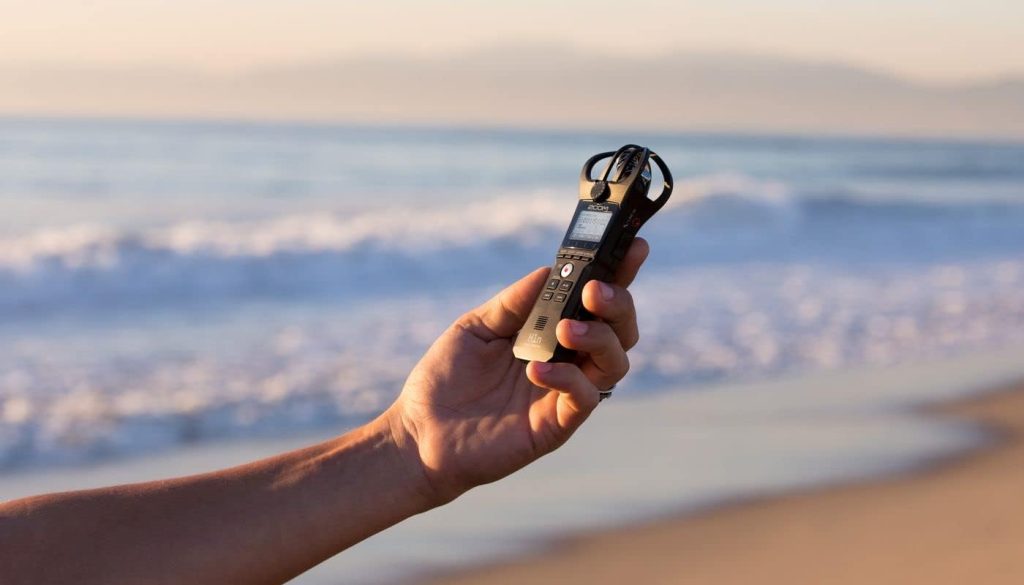
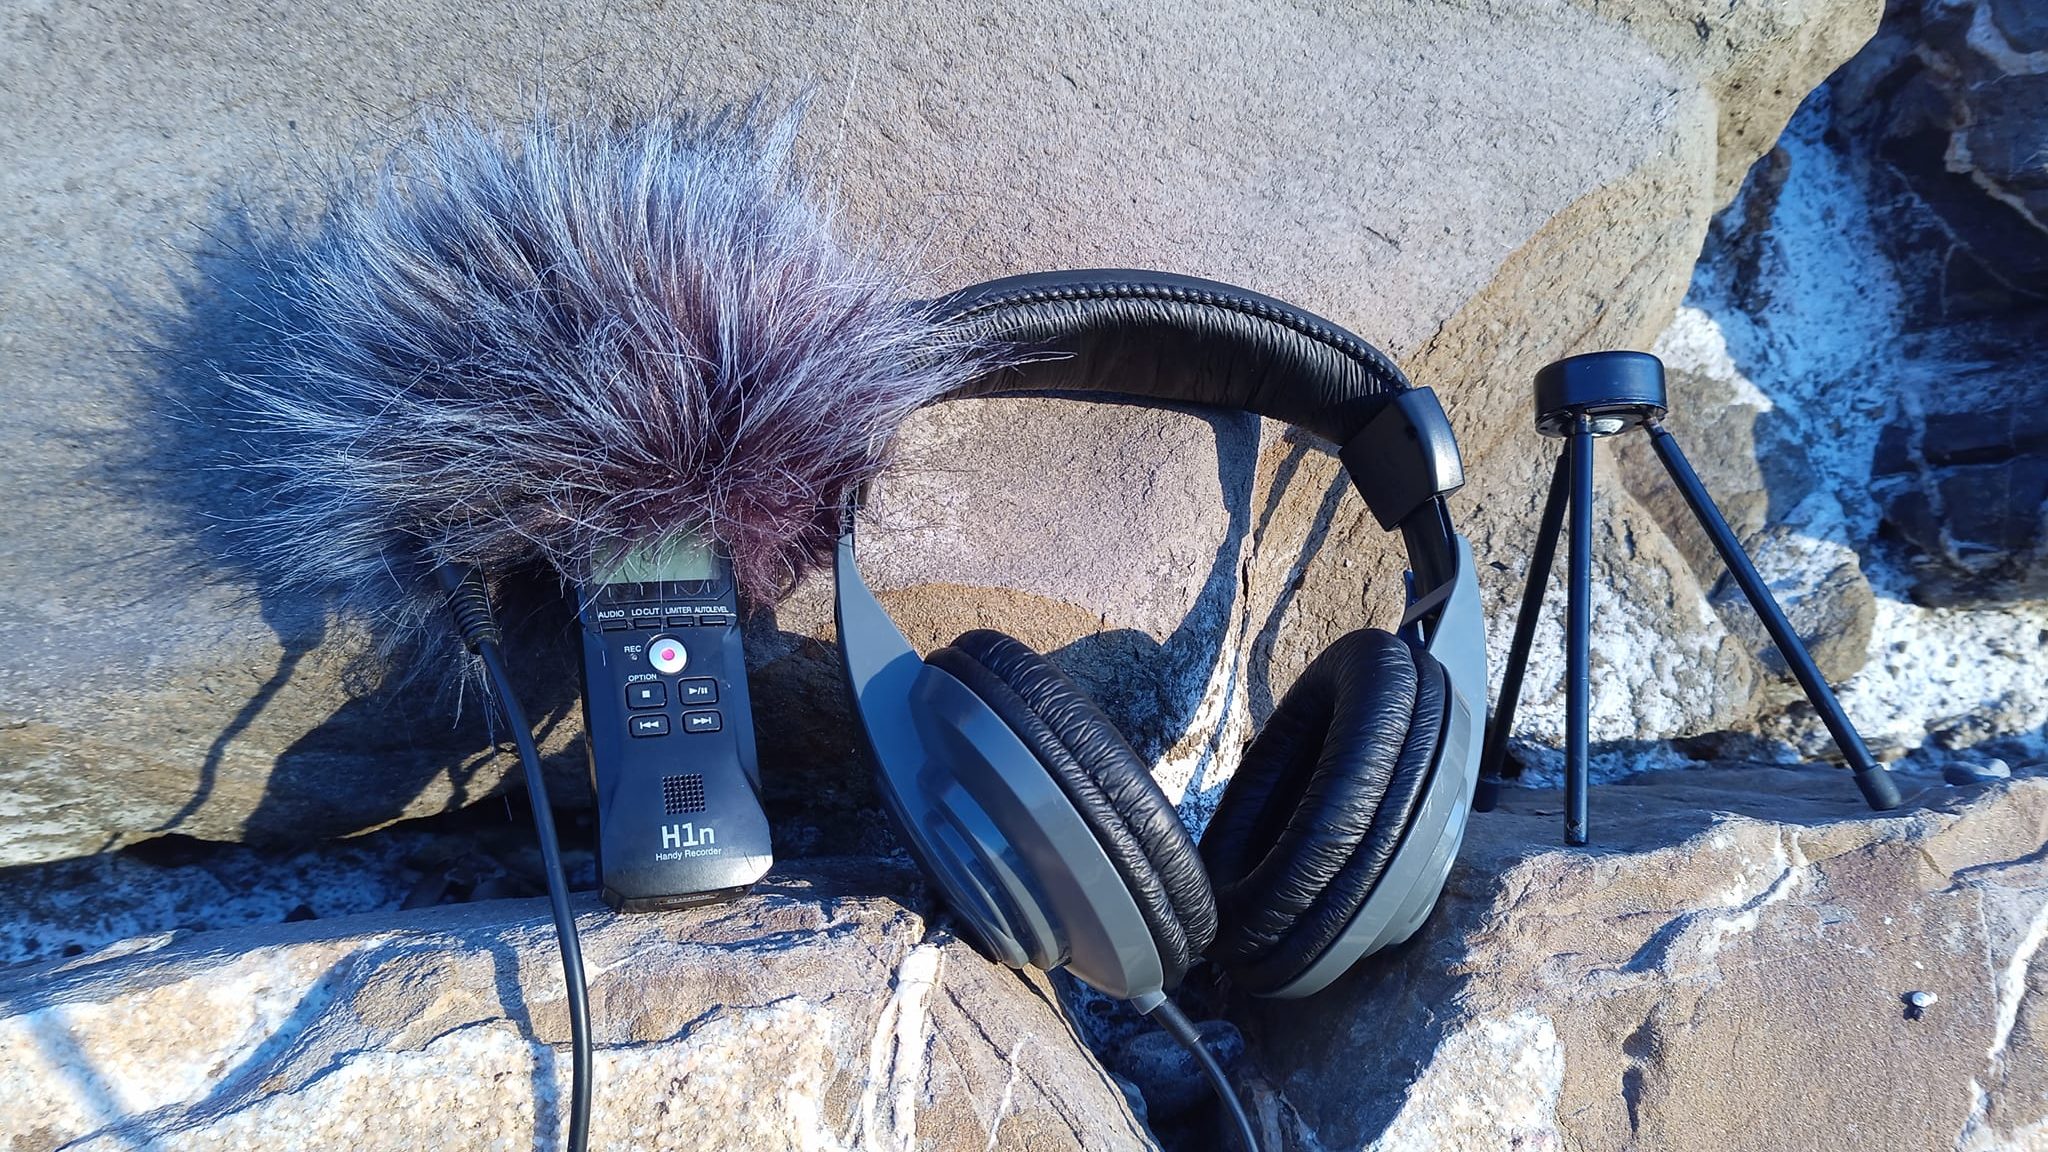
The initial observation I made regarding the H1n was its remarkably compact size. Although I had previously viewed images and videos of the device, I was still taken aback by its dimensions when I saw it in person. It is undoubtedly the smallest field recorder I have ever used.
Weght
The H1n is not only compact, but also remarkably light, weighing only 60 grams. This makes it an ideal choice for manual recording, allowing comfortable and long recording sessions without fatigue.
Buttons 🧈
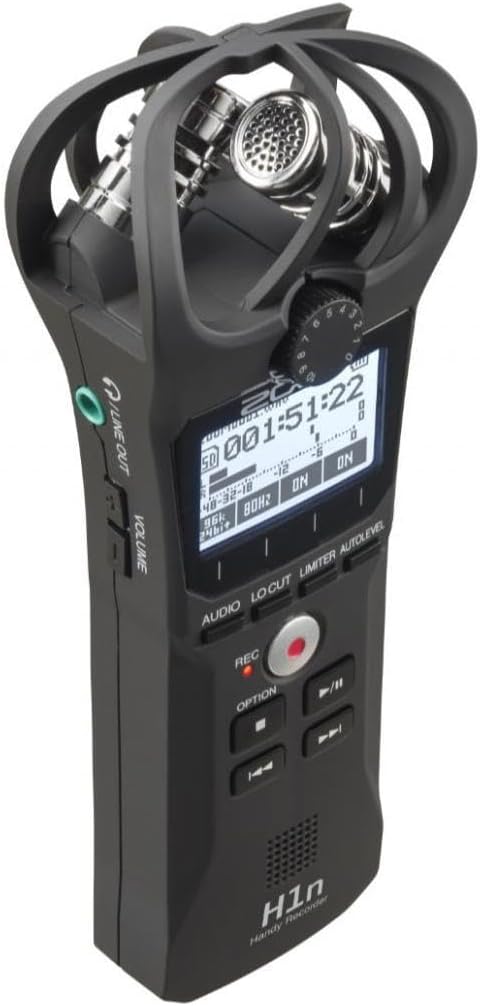
This Zoom recorder features a total of 12 buttons. All buttons, with the exception of the record button, provide satisfying, clicky feedback when pressed. In contrast, the record button has a softer, less responsive feel.
Although the buttons lack backlighting, their intuitive arrangement allows for easy identification of the desired button even in low-light conditions.
Functions
Power-on Time
H1n power-on time depends on the type and capacity of the memory card. Some cards cause the device to charge more slowly than usual. 32 GB charges in about 10 seconds, 8 GB in about 4 seconds.
Menu
The recording settings, including the low-cut filter, limiter, and auto level, are displayed at the bottom of the LCD. Adjustments can be made by pressing the appropriate buttons located beneath the screen.
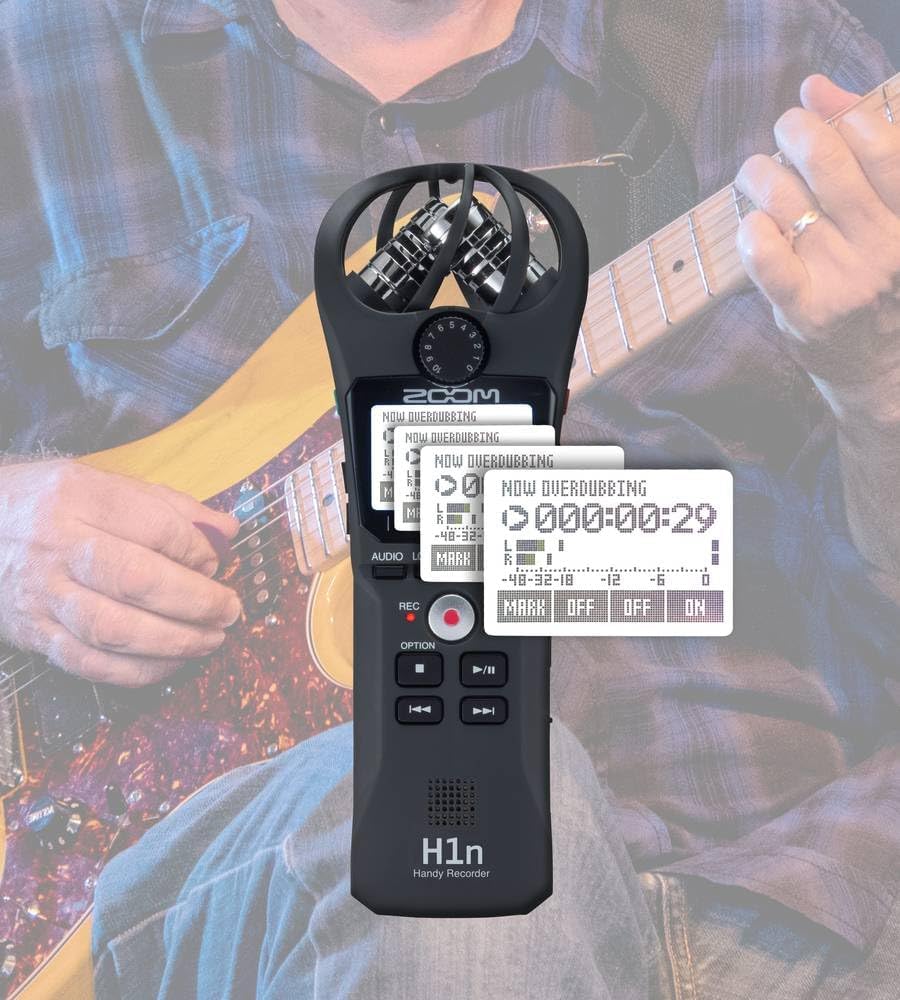
Activating a button cycles through all available options for that particular setting.
By pressing and holding the “option” button, the standard menu bar transforms to reveal additional recording configurations.
The four new features include auto-recording, pre-recording, self-timer, and sound mark.
This distinctive menu format required some adjustment, but I appreciate its efficiency. You can reach the desired setting with just one or two clicks, eliminating the need to navigate through multiple menus.
However, the H1n does offer a conventional menu, which must be accessed prior to turning on the device. To enter this menu, you need to press the “delete” button while sliding the power switch to the on position.
I found this process somewhat cumbersome and frustrating, as it necessitates turning the device off and back on to modify any settings. While many of these settings are designed to be “set it and forget it,” I believe the implementation could have been improved.
The settings in this traditional menu are:
- Date format
- Display backlight
- Display contrast
- Type of battery used
- Auto Power Off function
- How the counter appears
- How files are named
- Format memory card
Recording 🎤
- Using the H1n for recording required some adjustment on my part. I am used to a system where I press the record button once to enter standby mode and again to initiate recording. However, the H1n remains in standby recording mode at all times.
The microphones are continuously powered and transmitting audio to the line out (headphone) port. A single press of the record button will commence recording, at which point the small LED indicator will illuminate solid red.
Rather than featuring an extra LED to signal audio distortion, the recording light will flash quickly to indicate this issue.
Gain 〰
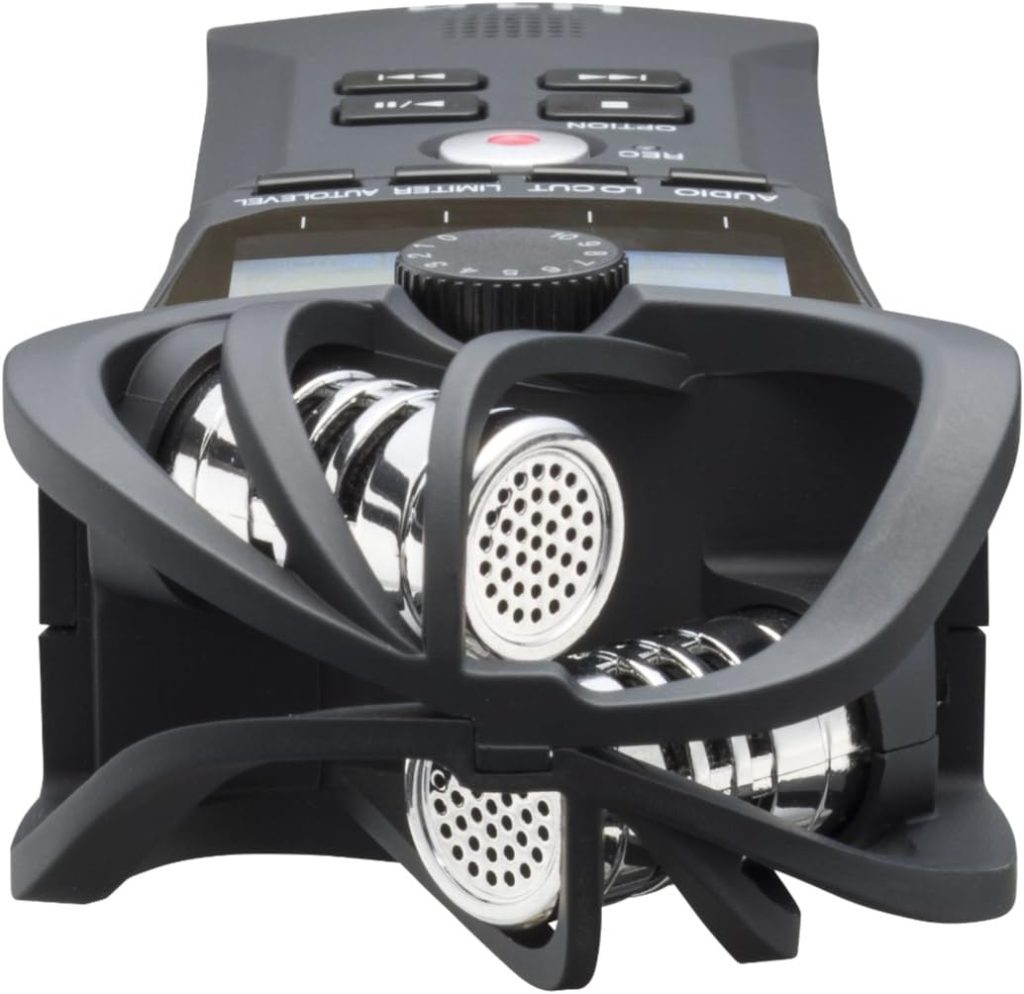
- Adjusting the gain on the H1n is straightforward. There is a knob located just beneath the microphones that allows for easy control. By turning the dial, you can set the gain anywhere from 0 to 10.
This feature operates exceptionally well. The dial rotates smoothly and offers an ideal level of resistance, making it simple to implement precise and gradual adjustments.
Low-Cut Filter
- The H1n features a low-cut filter with four distinct settings: off, 80Hz, 120Hz, and 160Hz. In my experience, the microphones on the Zoom are significantly less responsive to lower frequencies compared to other field recorders.
Upon further investigation, it appears that the H1n is equipped with a fixed low-cut filter that begins at 100Hz and decreases to -35dB at 1Hz.
As mentioned earlier, adjusting this filter is quite straightforward. You can easily cycle through the various settings by pressing the “LOCUT” button while in either standby or recording mode.
Headphone Volume 🎧
The volume of the headphones can be adjusted using the + and – buttons situated directly beneath the headphone jack. The functionality is precisely as one would expect.
Seamless Recording ⏺
An important yet typical feature to highlight is the seamless recording capability. Once a recording hits the maximum file size of 2GB, a new file is generated automatically without any loss of audio quality, ensuring a seamless transition.
This functionality is particularly beneficial for nature recorders, as many of our recordings tend to exceed the 2GB threshold (which corresponds to approximately 1 hour and 2 minutes of audio at 96kHz/24-bit).
Memory 📝
The H1n supports only micro SD and micro SDHC cards with a maximum capacity of 32GB. It does not recognize SDXC cards with higher storage capacities.
I had anticipated that a firmware update would enable compatibility with larger storage cards; however, as of August 2020, such support has not been introduced.
The following table lists all compatible cards along with their capacity for storing 96kHz/24-bit audio.
